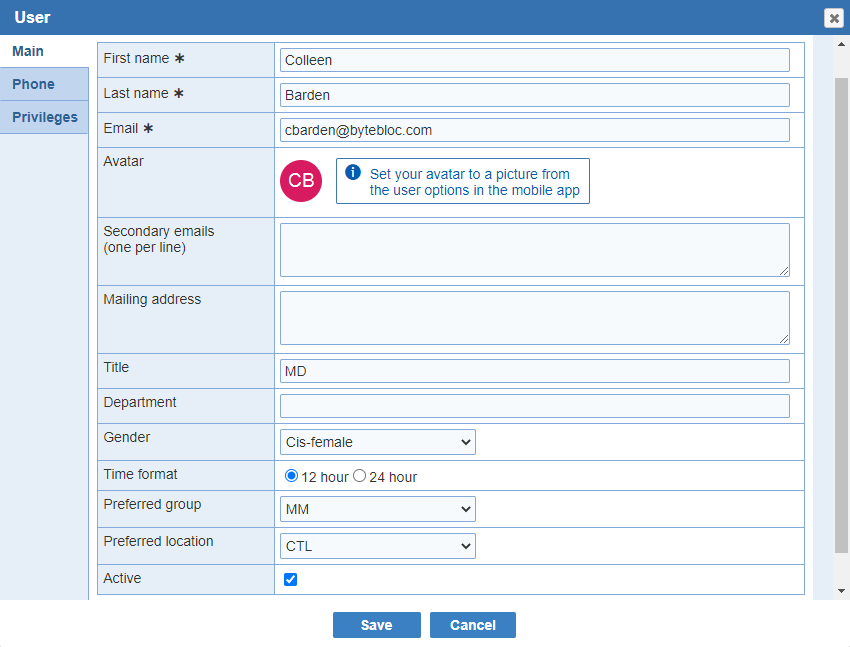
The 'Profile' window is displayed when you select the Profile button from the top right corner. Use the Profile window to enter in your contact information within the 'Main' section, phone numbers, and change your password. This information such as your name, telephone numbers and email address.
There are 3 sections 'Main', 'Phone', and 'Account' within the 'Profile' window. The 'Main' section has 'First Name', 'Last Name', and 'Email' as required fields.
First Name: Enter your 'First Name' here. This is a required field. This information will be automatically added as needed to footers and headers on emails that you send to your providers.
Last Name: Enter your 'Last Name' here. This is a required field.This information will be automatically added as needed to footers and headers on emails that you send to your providers.
Email: Enter in your 'Email' address. This is a required field. This email will be used to send out emails to your providers.
Avatar: Set your avatar to a picture from the 'Options' screen in the mobile app
Secondary emails (one per line): Option to enter in more email addresses than one.
Address: Option to enter in your mailing 'Address' in the 'Profile' screen. The mailing 'Address' is used to compute the transit time.
Title: Entry of a 'Title' is optional. It will be used if present, but is not necessary. (Examples: Department Chairman, Department Secretary, Scheduler, Administrative Assistant.) Usual entries would be abbreviated level of training titles such as MD, DO, PA, NP, RN, or EMT. Do not enter Dr., Mr., or Ms. in this area, which would result in printing such as Deanda, Dr, rather than the customary Deanda, MD.
Department: Here you have the option to enter in a 'Department' within your organization.
Gender: Here you have the option to select your 'Gender' from the drop down menu.
Time Format: You have the option to choose between a '12 hour' and a '24 hour' clock. This is how the shift end and start time will be displayed.
Preferred group: User who work at multiple groups or locations can set their 'Preferred Location' in their profile. The 'Preferred Location' is automatically selected upon login.
Preferred location: The preferred location is automatically selected upon login.The 'Preferred Location' is automatically selected upon login.
Active: By default the check box will be selected.
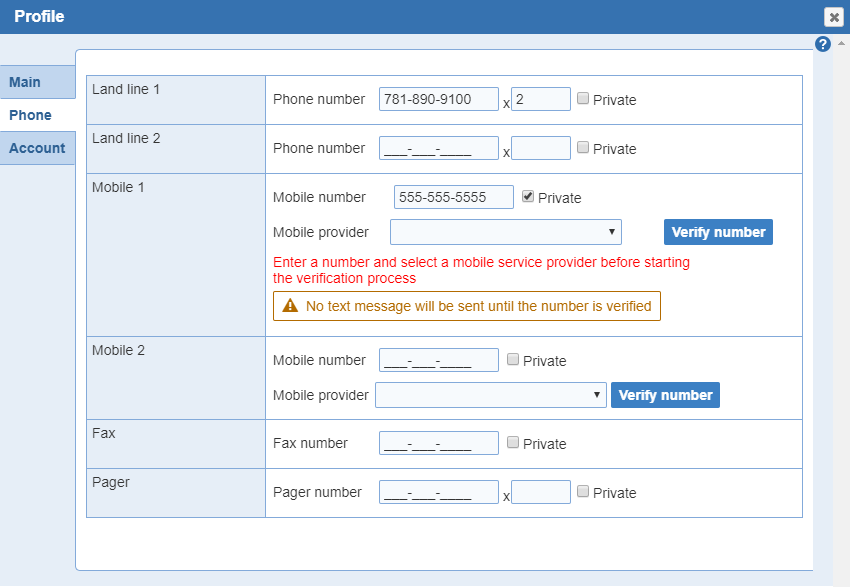
Land line 1: This is an optional field. Here you can enter a residential or business line.This information will be automatically added as needed to footers and headers on emails that you send to your providers.
Land line 2: This is an optional field. Here you can enter a second residential or business line. This information will be automatically added as needed to footers and headers on emails that you send to your providers.
Mobile 1: This is an optional field. Here you can enter a cell phone number. Click on the 'Verify Number' button to receive text messages.
Mobile 2: This is an optional field. Here you can enter a second cell phone number. Click on the 'Verify Number' button to receive text messages.
Fax: You have the option to enter the 'Fax' number. This information will be automatically added as needed to footers and headers on faxes and emails that you send to your providers.
Pager: This is an optional field. Here you can enter in your 'Pager' phone number. A numeric code can be associated to pager numbers.
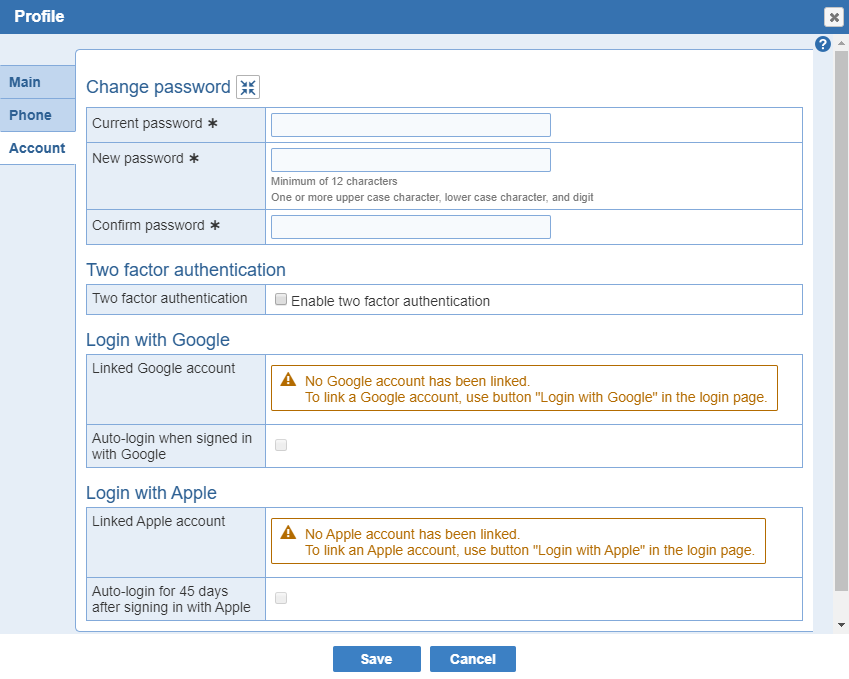

Change password: Here you have the ability to enter in your 'Current password', 'New password' and 'Confirm' the password.
Note: The password has to be a minimum length of 12 characters long, with one or more upper case characters, lower case character and digit.
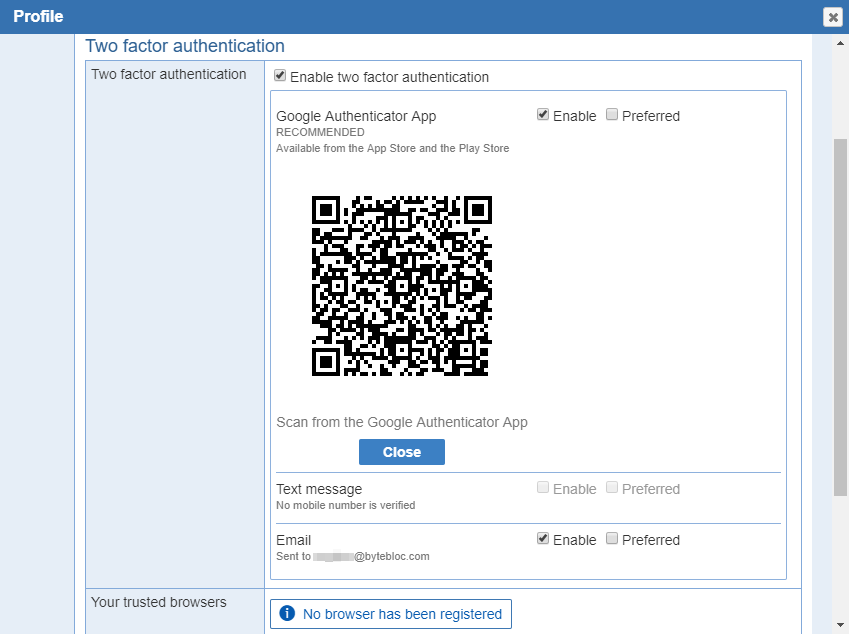
Two factor authentication (Optional)
 u
u
Two factor authentication: Is a safer way of securing your account with an extra layer on top of your username and password. Google Authenticator can be downloaded from the App store or Google Play store.
Note: Enabling at least backup method when using the Google Authenticator App for two factor authentication is recommended. Failure to do so may result in being locked out of your account in some cases.
Your trusted browsers: Allow location which skips Google Authenticator
Login with Google (Optional)
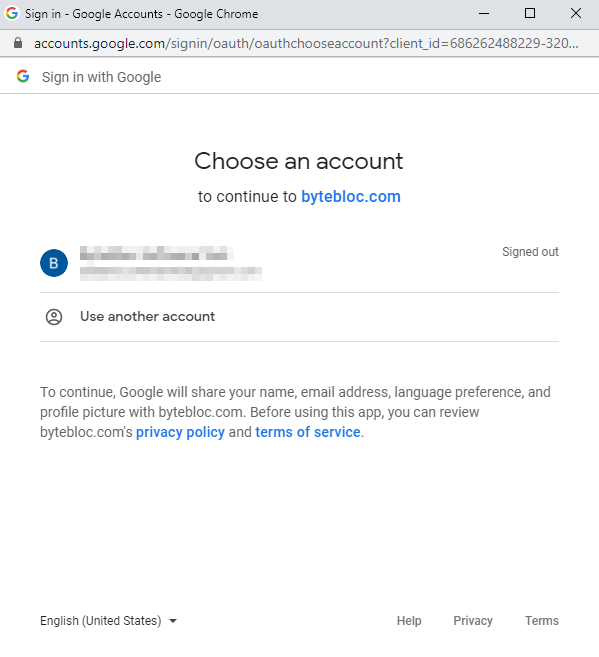
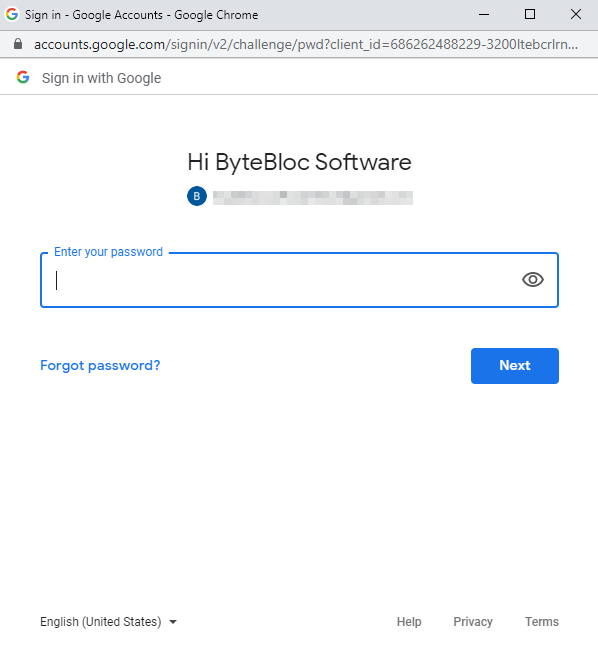
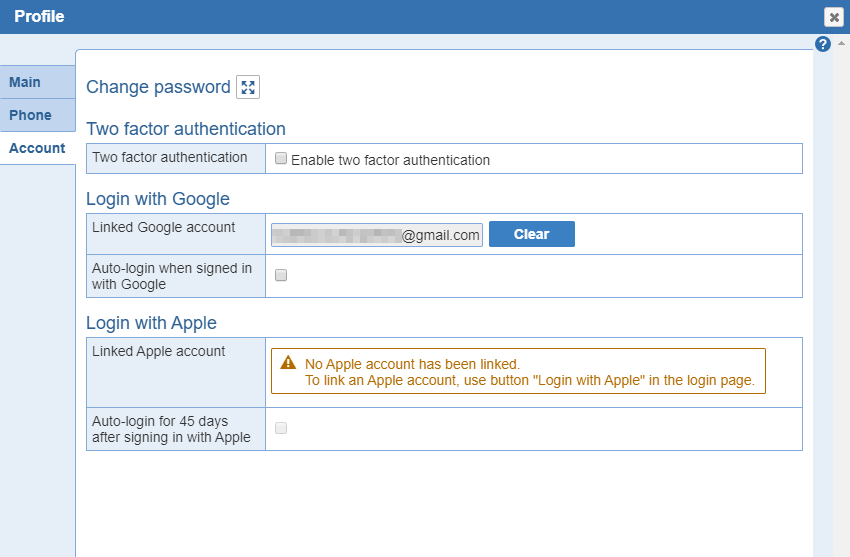
Linked Google account: To use 'Login with Google', the email address for the Google account and the email address for the ByteBloc account must match the first time 'Login with Google' is used. The match of the emails is necessary to ensure the security of the account. After the first successful login using 'Login with Google', the emails for either the Google account or the ByteBloc account may change without affecting the ability to use 'Login with Google'. Your Gmail address will be displayed and you can remove this login feature by clicking on the 'Clear' button.
Auto-login when signed in with Google: You can enable auto-login to ByteBloc when signed into your Google account. This option can be changed at any time form your profile.
Options:
- Allow auto-login
- Do not allow auto-login
Login with Apple (Optional)
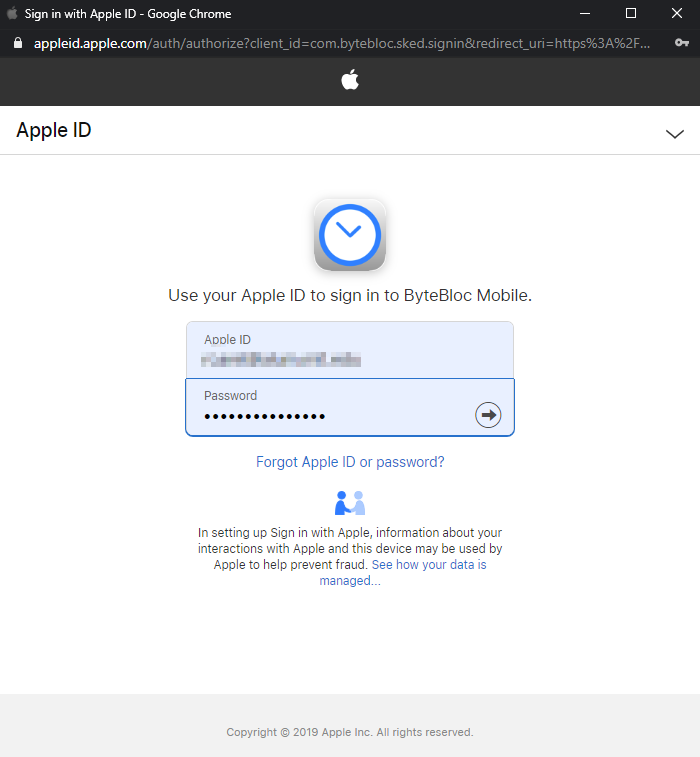
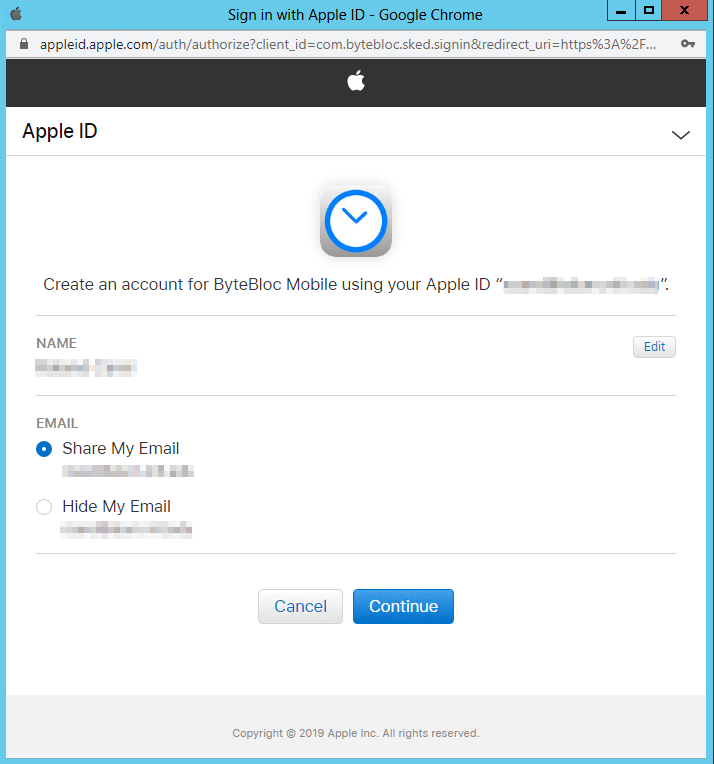
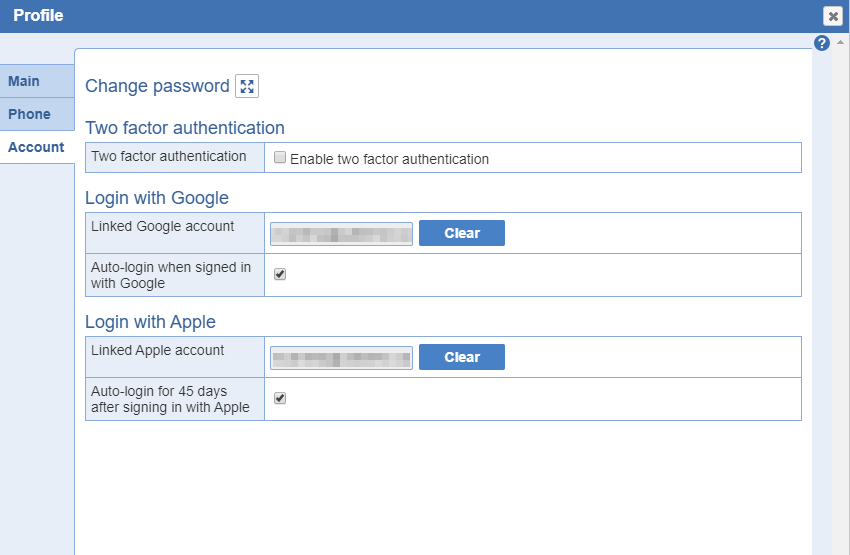
Linked Apple account: To use 'Login with Apple', the email address for the Apple account and the email address for the ByteBloc account must match the first time 'Login with Apple' is used. The match of the emails is necessary to ensure the security of the account. After the first successful login using 'Login with Apple', the emails for either the Apple account or the ByteBloc account may change without affecting the ability to use 'Login with Apple'. Your email address will be displayed and you can remove this feature by clicking the 'Clear' button.
Auto-login for 45 days after signing in with Apple: You can enable auto-login to ByteBloc when signed into your Apple account for 45 days. This option can be changed at any time form your profile.
Note: The email address for the Apple account must match the email address for the ByteBloc account.